
It doesn’t matter if you’re a serious lifter or just serious about carrying every single grocery bag (at once) into the house: you probably want spectacular grip strength. Because having a powerful grip is one of the ultimate goals of functional fitness, whether you want to add serious poundage to your deadlift or just be better at carrying your boyfriend’s suitcases at the airport. And because kettlebells are good for just about everything — strength, cardio, looking like an all-around badass — you better believe they’re going to be great for building incredible grip strength, too.
Why Kettlebells For Grip Strength?
Dumbbells, barbells, pull-up bars… pretty much anything you use your hands for during your workout is going to be good at building up your grip strength. But kettlebells are in a class all their own when it comes to developing an incredible foundation of hand, wrist, and forearm strength.
Why? In some exercises, it’s the high-rep, explosive nature of your movements that will fire up your grip to survival-esque levels of desperation. In others, it’s the off-center shape of the weight itself that will challenge your muscles to both hold and stabilize — a true test of your grip strength. And in still other exercises, kettlebells are unique tools for adding another simple (and painfully challenging) element to the mix — a towel — to really change everything you thought you knew about how powerful your grip is.
The unique shape of the bell, and the sometimes odd-looking exercises you can do with them, make them a great diversity-add to your programming — which probably features a lot of barbell and dumbbell work. And that kind of training is great! But the versatility of adding kettlebells to the mix to give that much more to your grip strength will translate into much more powerful abilities to hang onto the bar near the top of that deadlift and to feel confident in your abilities when unracking before a max-attempt bench. Plus, your groceries, suitcases, and laundry bags will never stand a chance against you again.
Programming Considerations
Let’s get one thing clear: these kettlebell moves are not meant to be a single workout, done right in a row. Fit them into your program as you see fit: maybe some will work as finishers after heavy days while others will be (very) active rest sets during your light lower body push days. If you have any conditioning days, these can also be great add-ins. Just don’t go trying to pre-exhaust your grip with these moves before you step onto the deadlifting platform: your forearms will hate you and your friends will mock you. And no one wants that, really.
Momentum-Based Moves
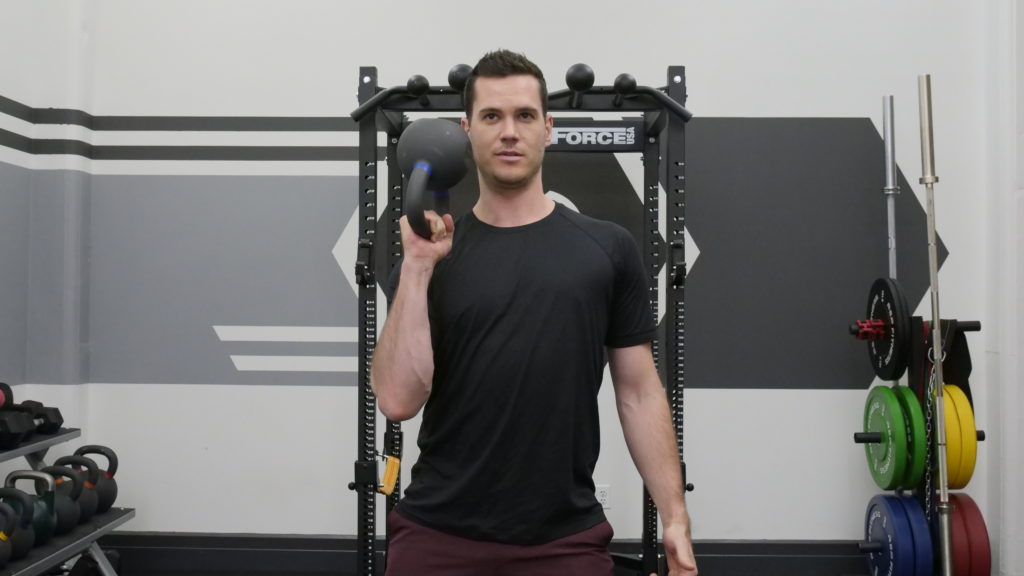
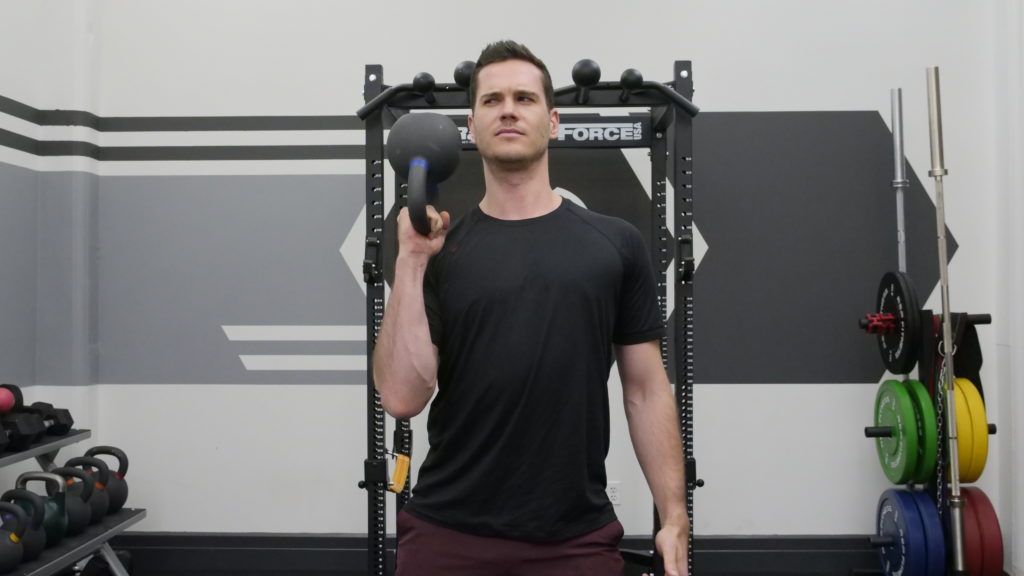
Kettlebell Grip Challenge 1: Bottoms-Up Clean
Set up as you would for a regular kettlebell clean, with your feet comfortably under your hips or shoulders (exactly where depends on your personal proportions). Rotate the bell so the handle is lined up with your feet, so that when you grip the handle, your thumb will be pointing behind you. With a regular kettlebell clean, you’d offset your grip so that the pad between your thumb and index finger would hug the corner of the handle. But with this bottoms-up clean, you’re going to solidly grip the bell in the middle of the handle.
Initiate the pull the same way, using momentum from your shrug and hip snap to get the bell into clean position — except this time, instead of worrying about looping your arm under the bell in such a way that the darn thing won’t smack your forearm, you’re going to worry about not letting the body of the bell touch your body at all. Instead, when you get to the top of the clean, keeping squeezing the handle so that the bell winds up upside down, with the bottom facing the ceiling. Your elbow should stay tight against your rib cage, and you should be able to turn your face to the upside-down bell to say howdy.
It should go without saying that you’ll want to start practicing this move with a light bell. Like, almost embarrassingly light. Start at around 30% what you can do regular kettlebell cleans with and progress (slowly) from there.
3 sets of 15 reps for both arms should do it.

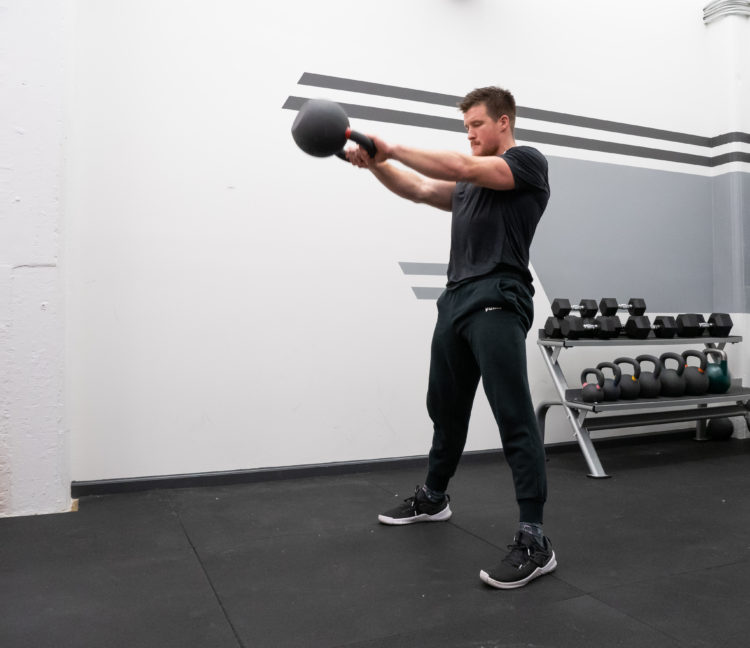
Kettlebell Grip Challenge 2: High Rep Single-Arm Swing (No Alternating)
Often, when we talk about single-arm kettlebell swings, we’re alternating hands at the top of each swing. The difference here? We’re not. The bell will stay in one hand the entire time. The mechanics are otherwise the same: make sure you’re using hip momentum rather than an arm tug to get the movement going, and keep a soft elbow the whole time. Don’t be deceived and grip the handle super hard, though. Sure, we’re doing this for grip strength, but maintain the typical rule of kettlebell swings here — make sure your grip is casual enough to be able to flutter your fingers at the top of each swing (don’t… actually let the bell flutter away though). Trust me, when you do these single-arm swings without alternating for a full 60 seconds at a time (each arm), your grip will feel it.
Try for 3 sets of 60 seconds on each arm, and have… fun.
Kettlebell Grip Challenge 3 (Very) Heavy AMRAP Swings
We’re going back to traditional two-handed swings here, so we’re keeping in mind the fundamentals of leading with your hips and keeping soft elbows, breathing with each swing. Once you’ve got the form solidly down here, the idea is to grab a heavy bell — one that you would normally do three sets of 10 two-handed swings with, or even slightly heavier — and you’re going to swing. As Many (High Quality) Reps As Possible. You’re going to take a 30 second break. And then you’re going to swing this heavy bell for as many reps as possible again. (If you’re using heavy enough weight, that number should drop significantly from one set to the next.)
Rinse and repeat this process two more times, and once your forearms feel better, your deadlifting power will thank you.
[Related: How to do picture perfect kettlebell swings (plus mistakes to avoid)]
Carrying-Based Moves
For all of the carries below, Keep your chest up and your shoulders relaxed. Breathe — always breathe — and walk, steady and calculated. Holding a heavy kettlebell by the handle in each hand. And… you’re set. In general, try to walk for ten steps after your forearms or fingers start wanting you to stop — but of course, if you feel a fall happening, slip into a quick squat so you can let the bells rest on the ground rather than dropping them (or your toes will hate you).
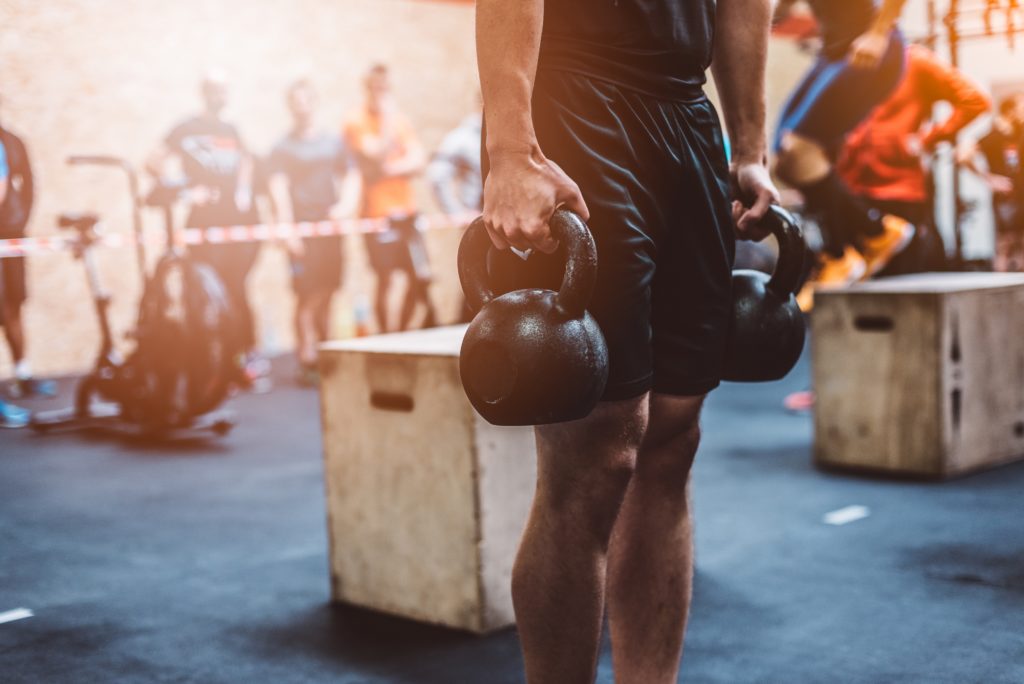
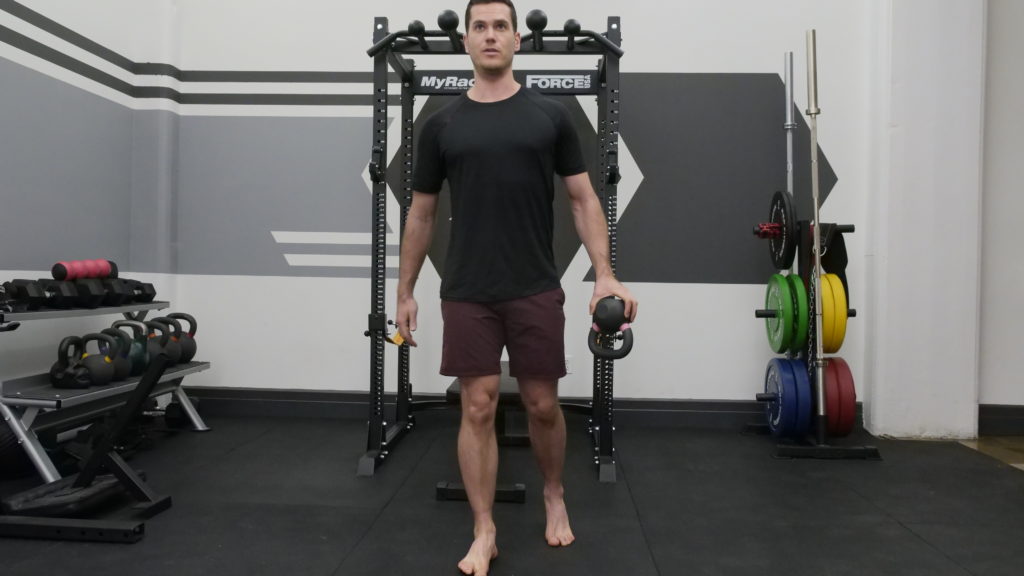
Kettlebell Grip Challenge 4: Farmer’s Carry
These are the carries you’ll be able to do with the heaviest bells. Try to do five walks/reps (again, about ten steps past comfort), resting 90 seconds in between.
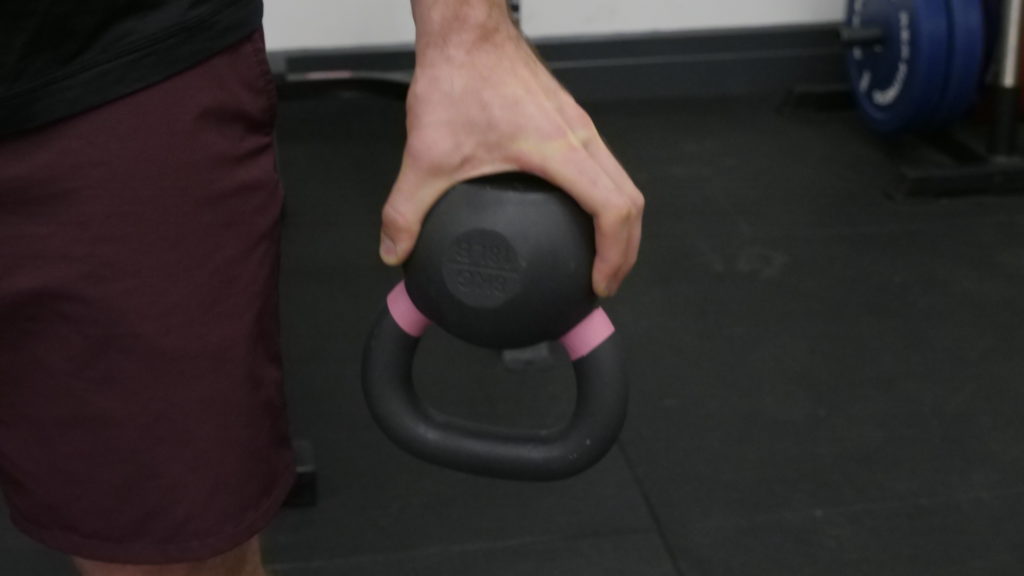
Kettlebell Grip Challenge 5: Kettlebell Pinch Farmer’s Carry
Here’s you’re going to want to pick a small bell — not just in terms of weight, but in terms of the physical width of the bottom of the bell itself. Because for this carry, you’re not going to be holding the kettlebell by the handle — you’re going to walk while pinching the bell itself between your fingers. This is different than pinching a plate, because typically with plate pinches, you’ll only use a couple of your fingers. Because of the shape of the bell, though, you’ll need all of your fingers helping out. Don’t let your ego get in the way of this one, especially if you have shorter fingers: the amount of weight is less important than the muscle activation of the position itself.
And you might want to halve your distance or time from regular farmer’s walks when you first start these lifts: these carries are sure to exhaust.
Try to walk about five steps past the point where your fingers and forearms start yelling, and repeat for 2-4 reps with 60 seconds of rest.

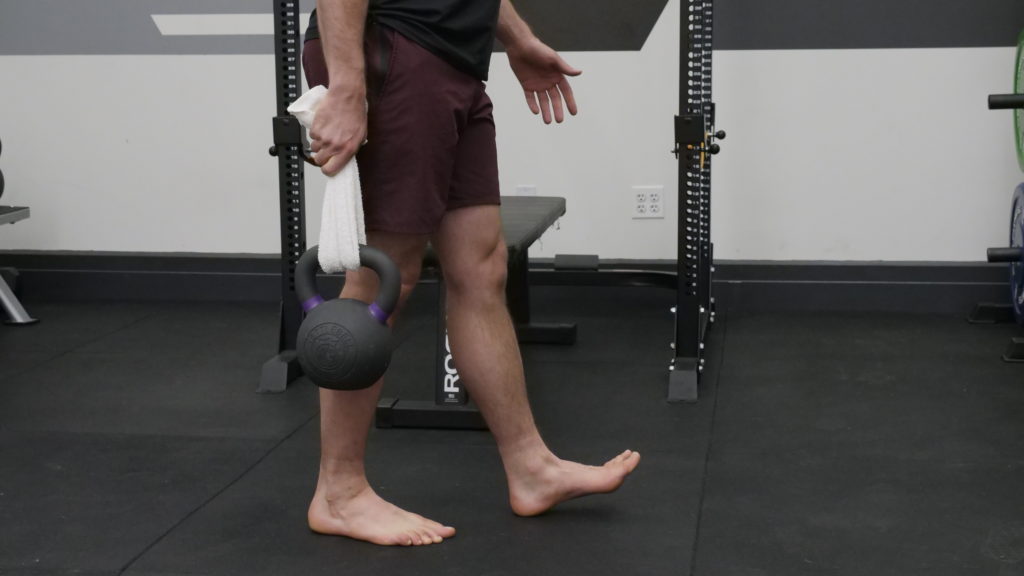
Kettlebell Grip Challenge 6: Towel Farmer’s Carry
At first, your fingers will be relieved by the lack of width involved in these carries; but your forearms will soon realize that they’ve been played.
Loop a short towel (not as short as a hand towel, but definitely not regular-towel length: most gym towels will do) through the handle of two kettlebells and pull through until they two ends are in even positions. Stay tall in your chest, get a good grip on the towels, and follow the same protocol as you would for a regular farmer’s walk.
Except this time, your hands aren’t touching the bell handles: you’ll be focused, instead, on keeping a grip on those towels. The instability of the connection will step up the challenge to your grip, so start at about 50-60% lighter than regular farmer’s carry weight. Use the same protocol as you would for regular walks.
Try to keep walking about ten paces after your grip wants you to stop, and rinse and repeat 5 times, resting 90 seconds in between each rep.
[Related: A step-by-step breakdown of the farmer’s walk]
Kettlebell Grip Challenge 7: Suitcase Carry
Suitcase carries (all three types) are going to follow the same protocols as the farmer’s carries, above. However, the main differences are these: you will be using significantly less weight, because with suitcase carries, you’re only holding the bell in one hand.
You’ll have to work harder to make it look like you’re not carrying anything at all, which is the goal: if you’re holding the bell in your left hand, you don’t want to slant downward toward your left side, for example, or overcompensate by hiking up your left shoulder. You want to keep your core stable enough so you look like you’re walking with no weight in either hand.
And, with suitcase carries, you don’t need rest periods that are as long: in fact, you can do one hand right after the other without needing to rest (since your left hand will be resting while your right is pleading for mercy). So get carrying!
Kettlebell Grip Challenge 8: Kettlebell Pinch Suitcase Carry
Follow the same protocol as above for towel farmer’s carries — but with less weight and less rest, as detailed above re: suitcase carries (five steps past comfort, 2-4 reps, 60-second rest) — and have a good old time.
Kettlebell Grip Challenge 9: Towel Suitcase Carry
It might feel like all these carries are getting repetitive, but trust me — your grip strength won’t agree. Keep those shoulders and that torso looking like you’re not carrying anything, and have at it just like you would a towel farmer’s carry (but again, with even less wait).
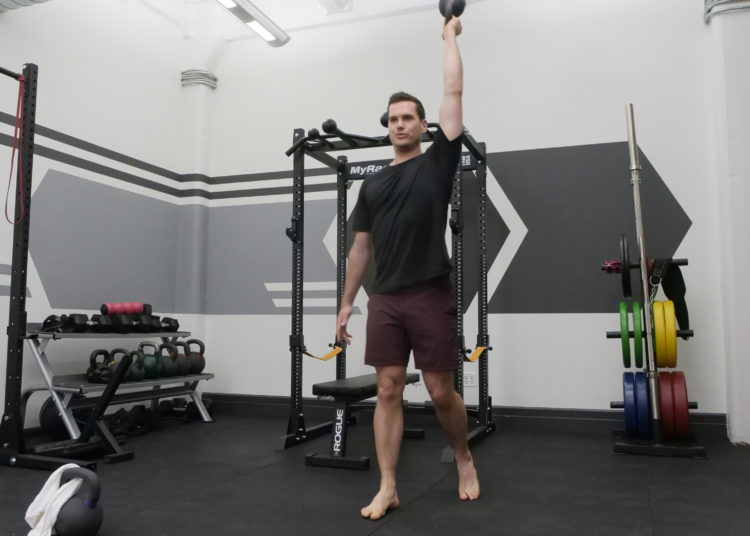
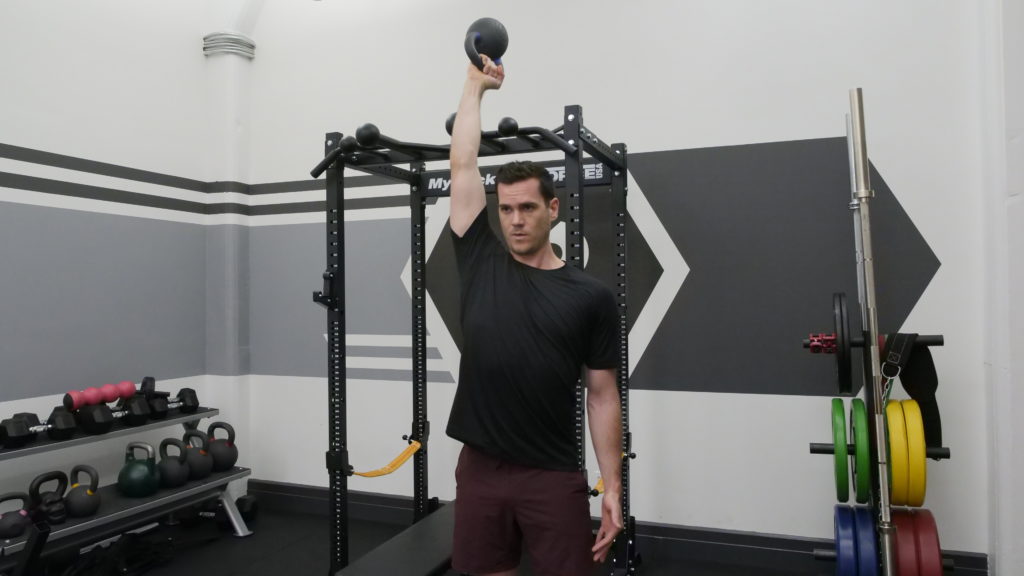
Kettlebell Grip Challenge 10: Overhead Bottoms-Up Waiter’s Carry
Here, you’re going to grab a light bell — maybe not as light as the pinch carry bell, but still fairly light — and press it overhead, in a bottoms-up position. Stack your shoulder so that you are pulling your shoulder down toward your torso, away from your ear. The carry itself is the same, with the calculated steps, breath, and making sure you’re not hiking your shoulders or torso to compensate for the unilateral weight shift — but remember that you’re holding something overhead.
And, because it’s bottoms-up, you’re balancing the bell by its handle, with only your grip strength to keep it steady. So feel free to bend your elbow and bring the weight back down — with control — when your fingers and forearms start to demand it. And, as always, if you generally have shoulder impingements or pain, you probably want to avoid overhead exercises unless your doctor or physical therapist has specified otherwise. Don’t worry — you can build awesome grip strength in other ways.
[Related: 3 bottoms-up kettlebell exercises to improve lifting technique]
Stability-Based Moves
All of these movements will focus on your relationship with the kettlebell handle, which is a lot like focusing on your relationship with yourself. Fear and nerves will come into play, because it takes a lot of grit to keep a bottoms-up bell stable, whether it’s under or over your body. So these moves won’t only build your grip up; they’ll also build mental fortitude, which is always good for lifters. But again, let your ego go and use lighter bells than you think you should be using, especially at first. The quality of movement is so much more important than the weight you’re using, because stability, not ego, is key here.
Kettlebell Grip Challenge 11: Bottoms-Up Shoulder Press
You can stand (more stable base) or kneel (less stable base, more core involvement) for this, but either way, bottoms-up clean two bells to rack position. With a solid and steadying exhale, press both bells, bottoms-up, just like you would press dumbbells. Except unlike with dumbbells, where your palms would typically be facing out and away from your body, with bottoms-up presses, your palms will be facing each other. Keep the movement slow and controlled, and again, worry more about stability and rep quality than weight.
Three slow sets of 12 should do the trick, with 45 seconds of rest in between.
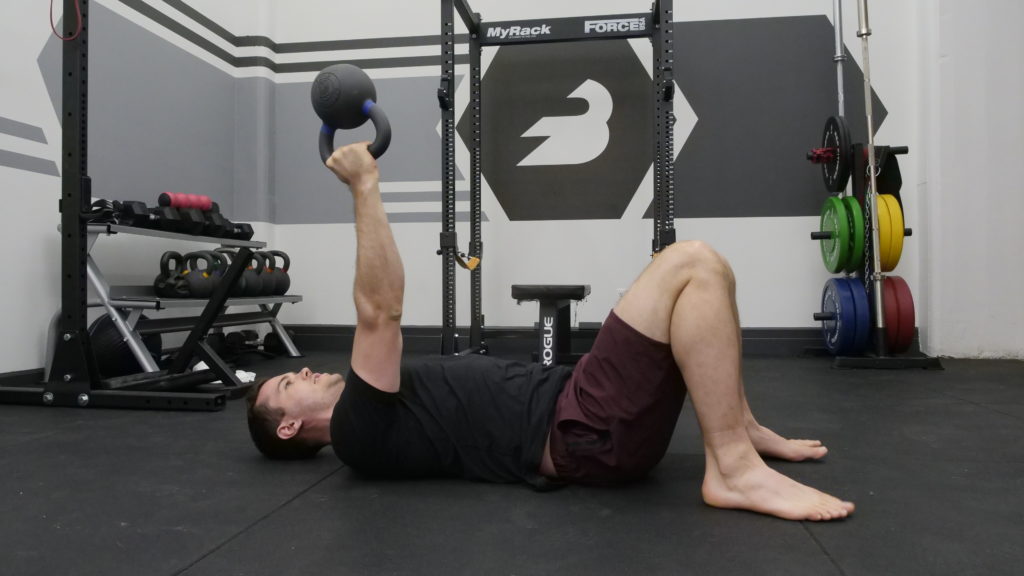
Kettlebell Grip Challenge 12: Bottoms-Up Bench Press Or Floor Press
The same rules apply as with shoulder pressing: much lighter weight than what your ego is telling you to do, and — whether you’re on the floor or on a bench — your palms should be facing each other the whole time. Slow and steady is key.
Again, three sets of 12 with 45 seconds rest will do nicely.

Kettlebell Grip Challenge 13: Kettlebell Pushup
Here’s the one exception to this section’s emphasis of ‘screw your ego and use lighter bells.’ You might want to use heavier bells for this, because you won’t actually be lifting the bells themselves: the challenge will be their odd shape, and balancing your bodyweight by using the bell handles as pushup stands.
There is no shame in getting the hang of this movement with your knees on the ground. In fact, please do. The reason you’ll want to use bigger bells is simply because heavier bells have thicker handles and broader bases — it’ll make it easier (and safer) for you to balance while using kettlebells as your pushup stands. Easier won’t make it not hard, though: trust me, these will be a delightful challenge.
Complete three or four sets to failure, resting as needed in between, and know that it is more than alright if each set contains 1-4 reps.
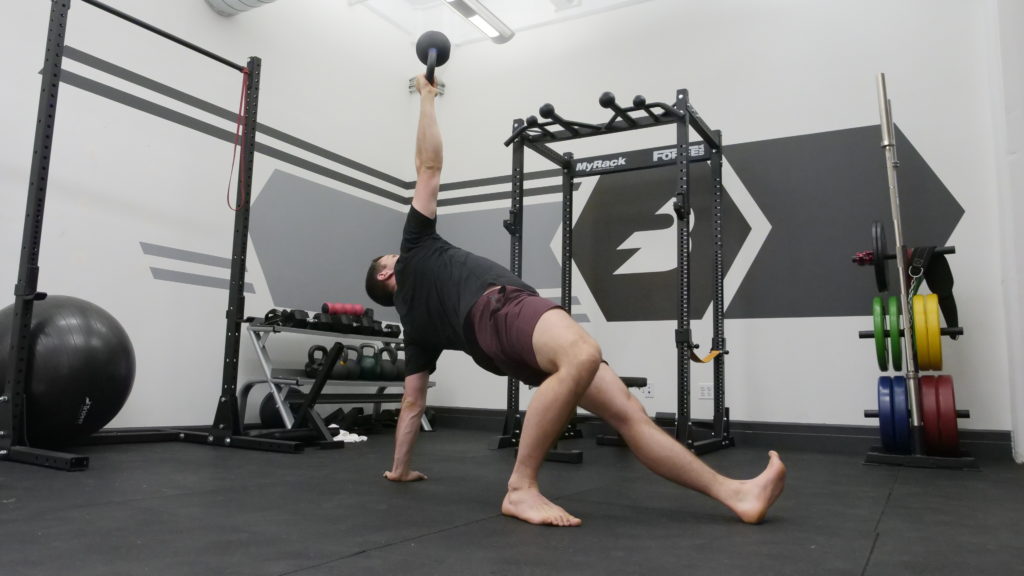
Kettlebell Grip Challenge 14: Bottoms-Up Turkish Get-Up
Only try these out if you can do a flawless Turkish get-up with dumbbells and traditionally-held kettlebells — this is not a move to try if you’re unfamiliar with the complicated movement in general. But if you are, know that the same rules apply: keep your shoulder stacked, maintain continuous eye contact with the bell, and breathe through each separate part of the movement. And, of course, use much less weight than you normally would, because bottoms-up complicates everything (in such an effective way for your grip strength).
Three sets of three full reps on each side should do it, resting as needed between each rep.
Kettlebell Grip Challenge 15: Bottoms-Up Kettlebell Hold
For these, you’re just going to press two kettlebells overhead in the bottoms-up position. And then you’re going to stand still, and just… breathe. And count. For as long as you can. And that’s… it.
You can use heavier bells here than you would for active presses, and just holding them in that position will have your forearms asking when the heck they can come back down. And listen to your darn forearms and fingers: remember, whenever you’re lifting above your head (or really, whenever you’re lifting in general), safety first. Don’t let the bells swing back down all exhausted and willy-nilly: bring them down when you’re taxed, but still confident you can securely pull them back down to shoulder level by bending your elbows down toward your rib cage and letting them down in a reverse-curl from there.
Three sets of holding these friends as long as you can (again: in a controlled way), resting as long as needed in between, will definitely do the trick
Get A Grip
Whether you like to swing, carry, or move in slow, deliberate ways — or if you’re looking to add a little bit of everything to supplement your programming — these 15 grip-developing kettlebell moves will have you well on your way. Grip strength is every lifter’s best friend, so even though your fingers and forearms will seem to hate you, I promise they’ll thank you in the long run, especially when you start to notice that extra poundage on your lifts. So get a grip, and have a good time!